Inwood · Manhattan
Is the wall ready for your Inwood mirror?
By MetroGlass Pro ·
Plan this glass project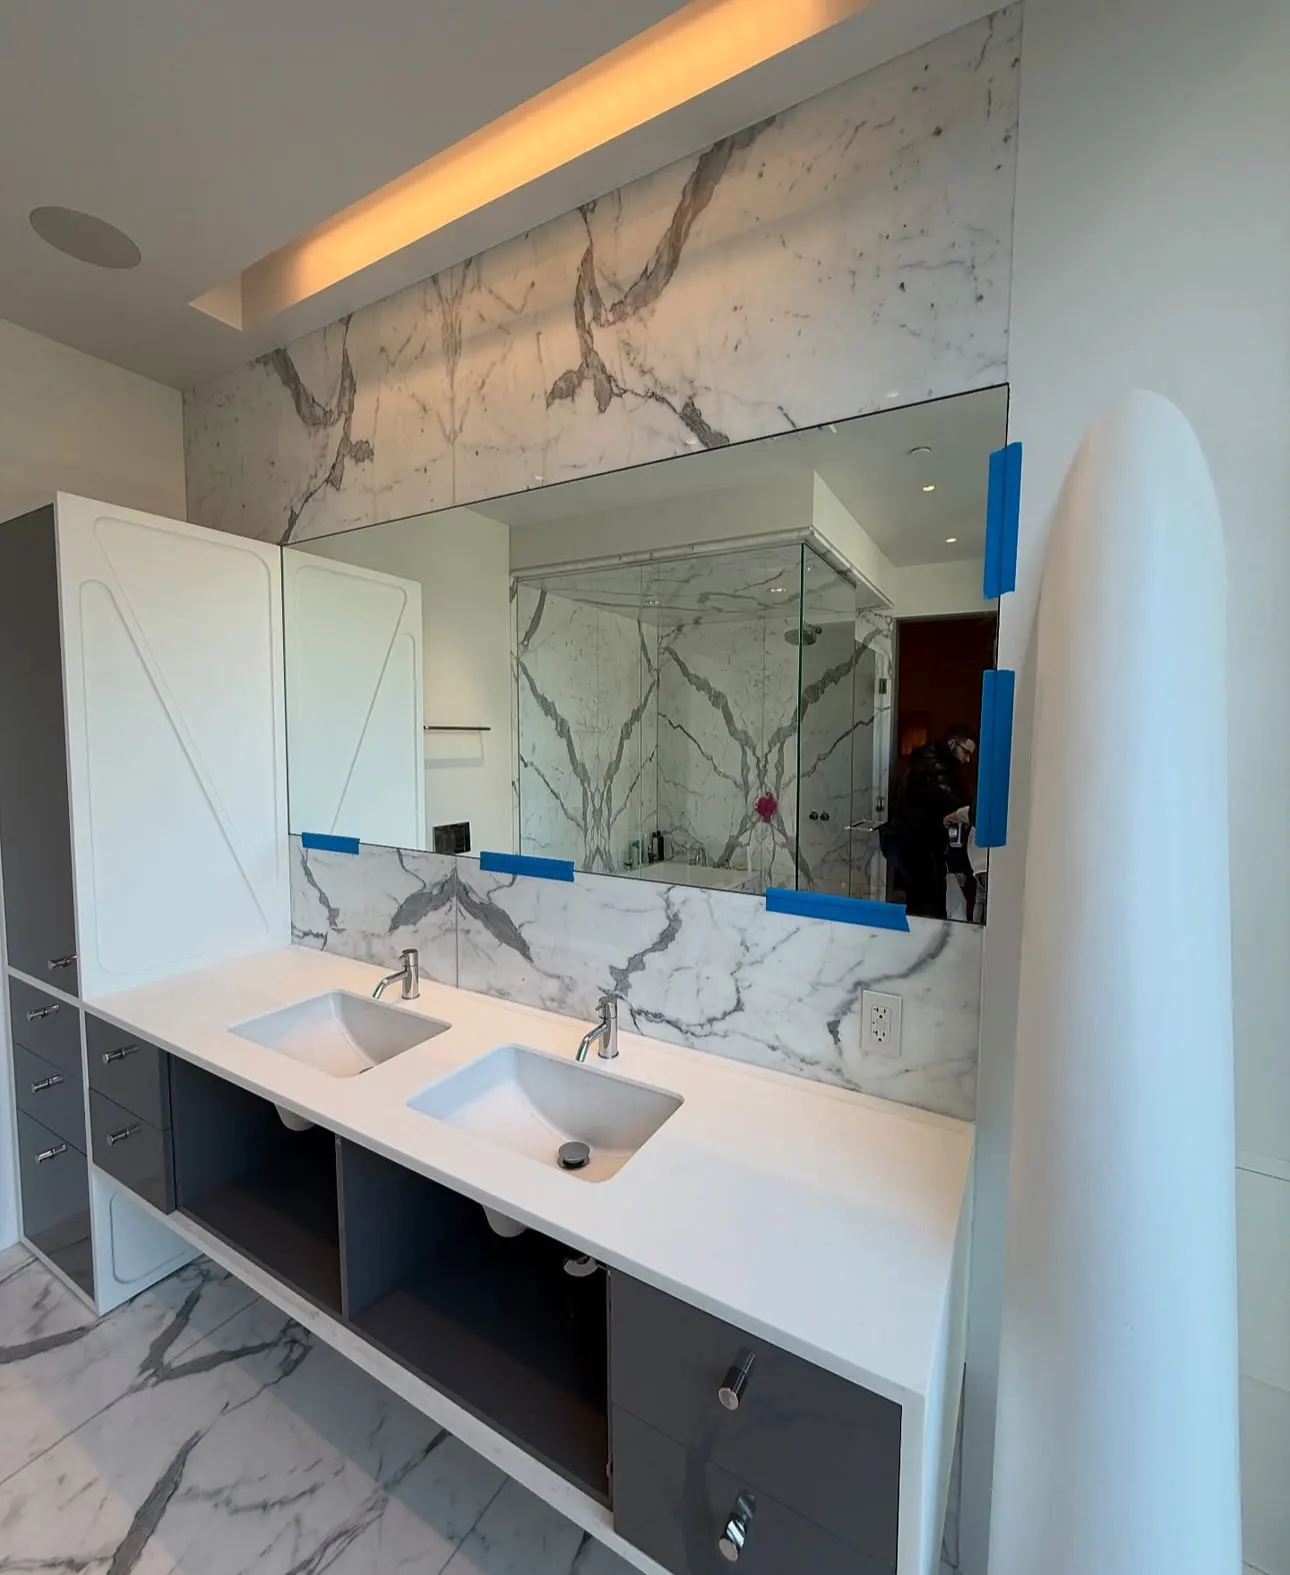
The painter says the wall is finished. The mirror installer asks what is underneath. Both can be looking at the same smooth surface and still need different information before the next visit.
For an Inwood vanity refresh, give the wall handoff its own place in the schedule. In this company photograph, the long mirror meets a tall cabinet and sits above two basins. Those visible edges make the fit easy to discuss. The photograph leaves the wall preparation and mounting method to the site record.
Name the wall finish and recent repairs, then agree who confirms readiness for the selected mirror and mounting method.
Tell the glazier what happened to the wall
List recent patching, plaster work, paint and removed fittings. Include the product names and application dates if the contractor has them. Mark areas of previous adhesive or damaged finish on a photograph. If the surface will change again, describe the remaining work before booking installation.
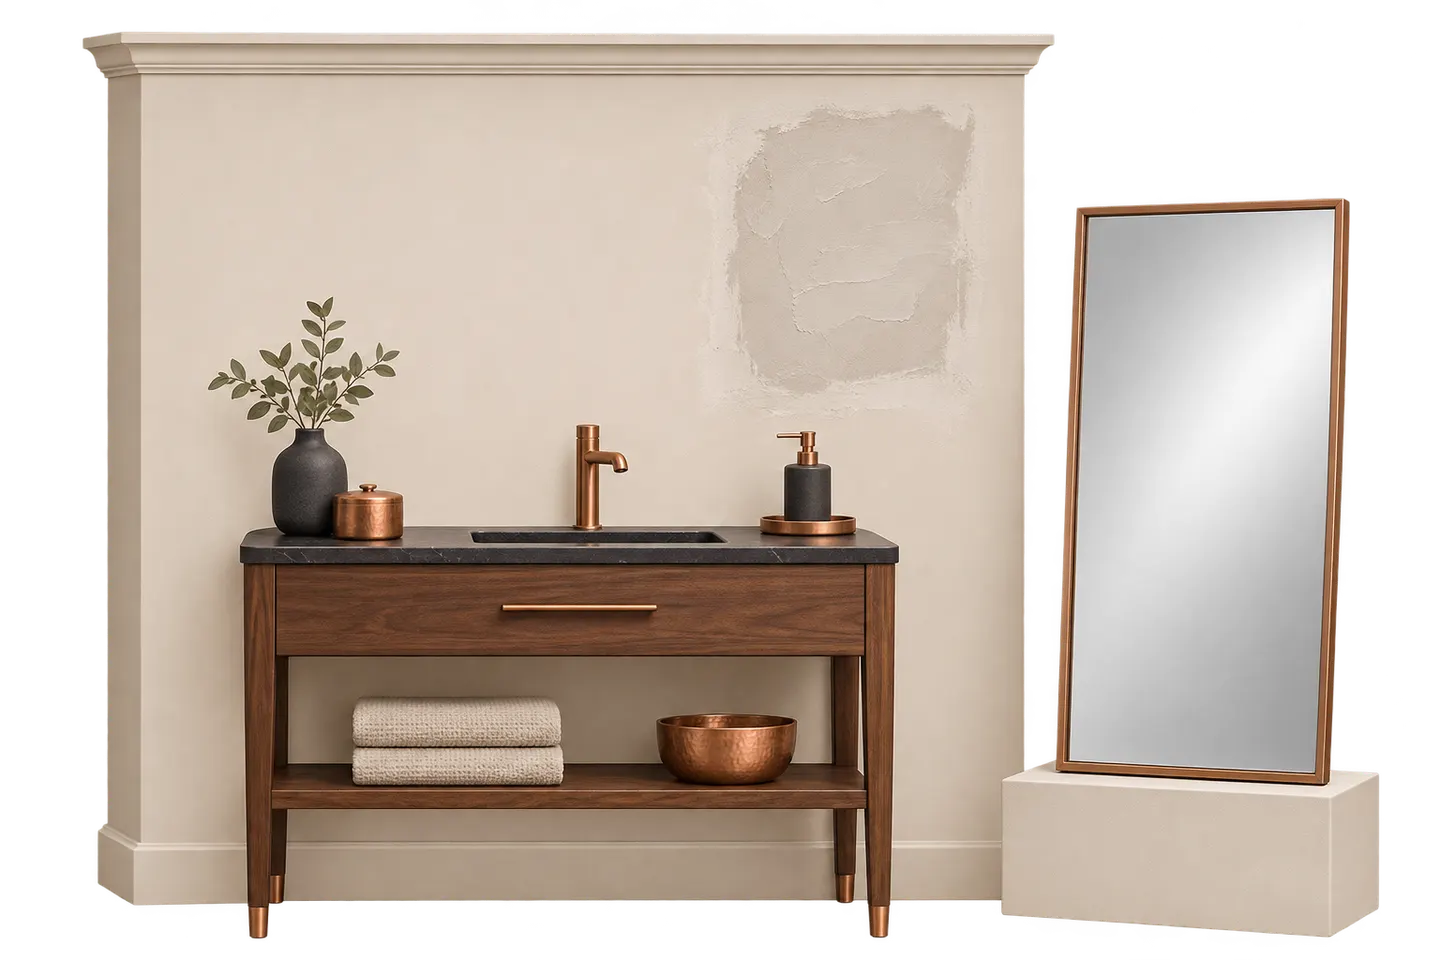
A wall can look dry while a coating or repair still needs time or treatment. Ask the person doing that work for the product instructions and ask the mirror installer what condition they need for the proposed assembly. Put both answers in the same handoff.
Confirm the mounting approach with the surface in view
The National Glass Association’s mirror installation guidance calls attention to wall preparation, moisture and compatibility with the mirror backing. It is a reason to identify the actual surface and materials. It does not give every painted wall a universal waiting period.
Ask the installer to review the mirror size, receiving surface and any mechanical support or compatible adhesive proposed. Keep unresolved wall repairs with the responsible trade. If the wall is uneven or the existing finish is loose, ask what preparation the estimate assumes before final attachment is planned.
Set a clear point for the final measure
Show the finished vanity, backsplash, cabinet edges and light positions. Ask whether the final measure should follow any remaining wall or fixture work. In the photograph, changing the tall cabinet or the surface below the mirror would change a visible boundary, so include comparable changes in your own room’s update.
Request a scope that names wall preparation, mirror supply, mounting and any finish touch-ups. Record the person confirming that the wall is ready and tell the estimator about changes after measurement. That gives the installation visit a specific starting condition.
Bring the actual room into the estimate.
For this project, useful photos show:
- Whole receiving wall with vanity and lights
- Visible repaired or uneven areas
- Product information and dates for recent wall work
Tell us what you need.
Just the basics. Measurements and building details can come later.