Bedford-Stuyvesant · Brooklyn
Keep the molding. Give your Bed-Stuy mirror its own boundary.
By MetroGlass Pro ·
Plan this glass project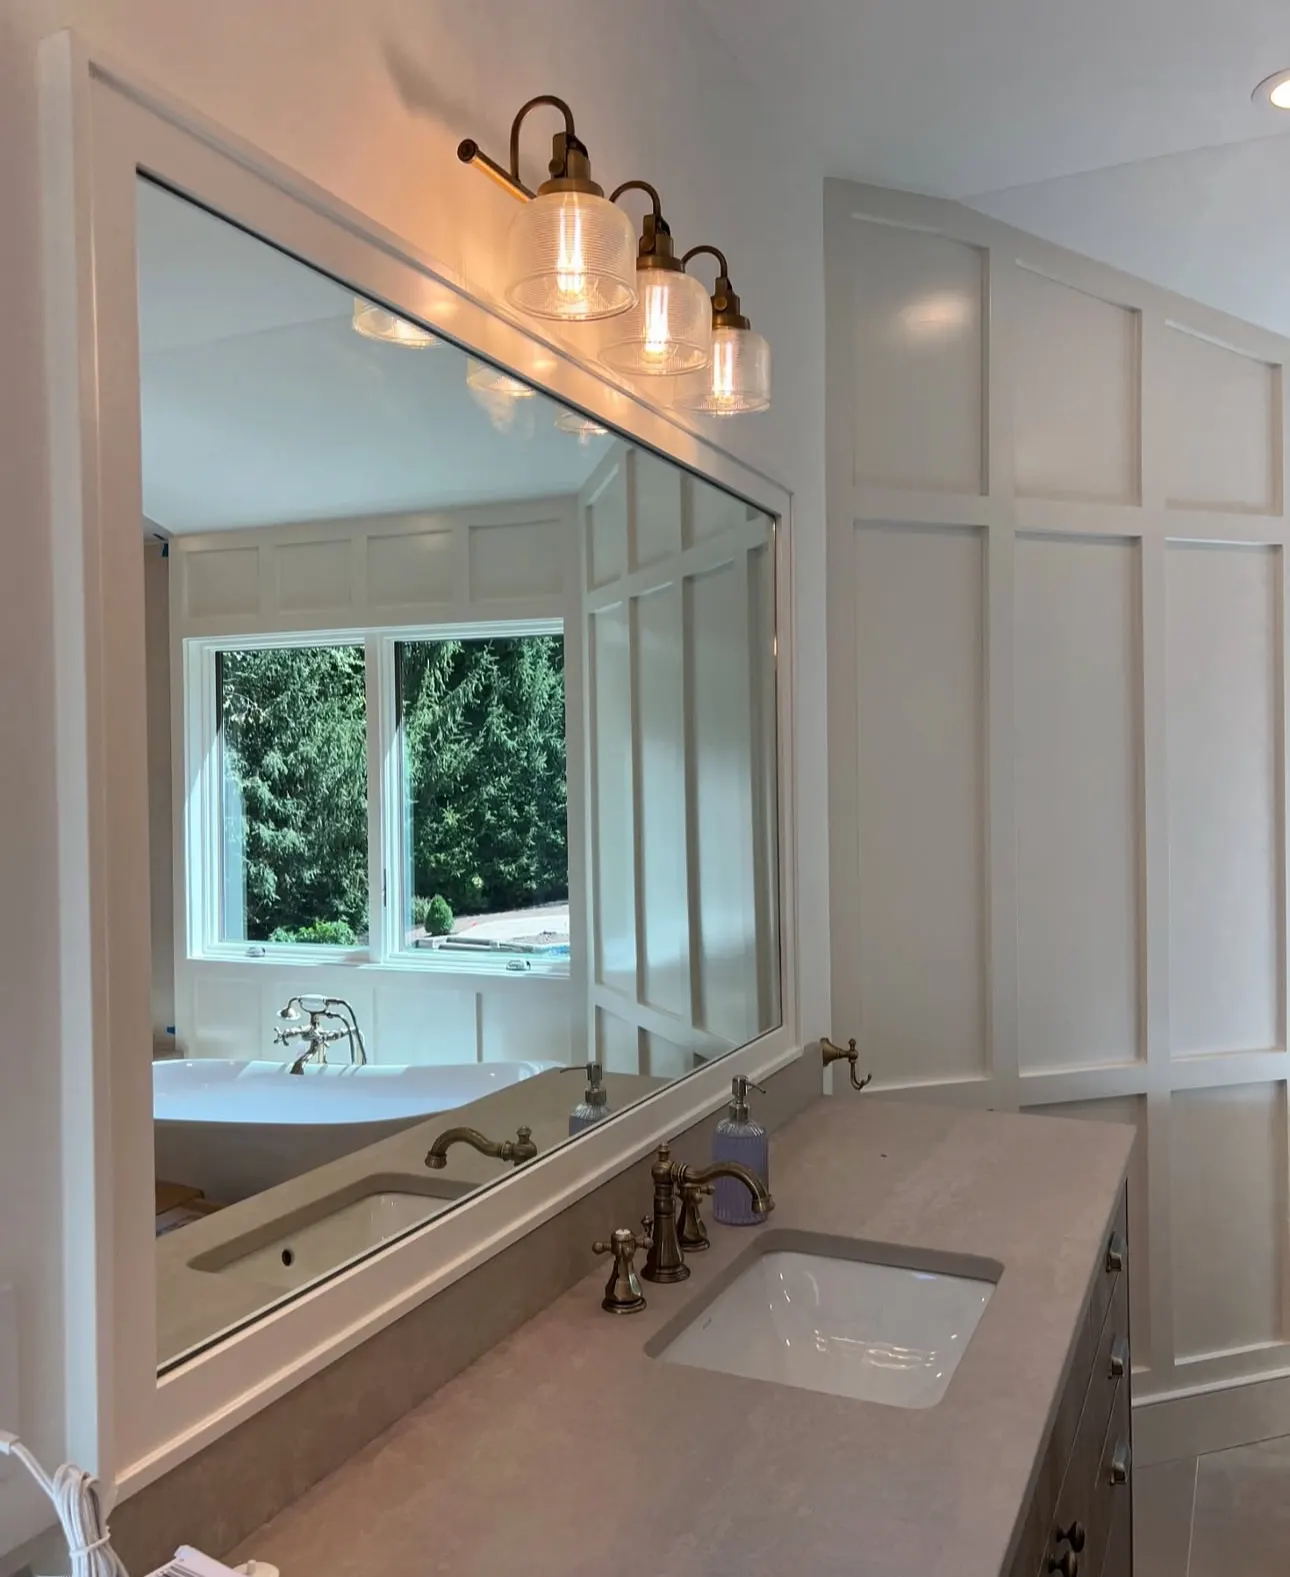
The molding is already doing design work. It divides the wall, catches the light and gives the room a rhythm. A larger mirror can interrupt that rhythm even when it fits above the basin.
If you are adding a mirror to a Bedford-Stuyvesant room while keeping its trim, begin with what deserves to stay visible. In this MetroGlass Pro photograph, the mirror has a complete frame, while rectangular wall panels continue beside it. Three sconces sit above the frame. Those separate edges make the useful question quite specific: where should the glass stop so the wall still reads as a finished composition?
Set the retained finish boundary first. Then review the mirror, its support and its reflection.
Mark the edges you want to keep seeing
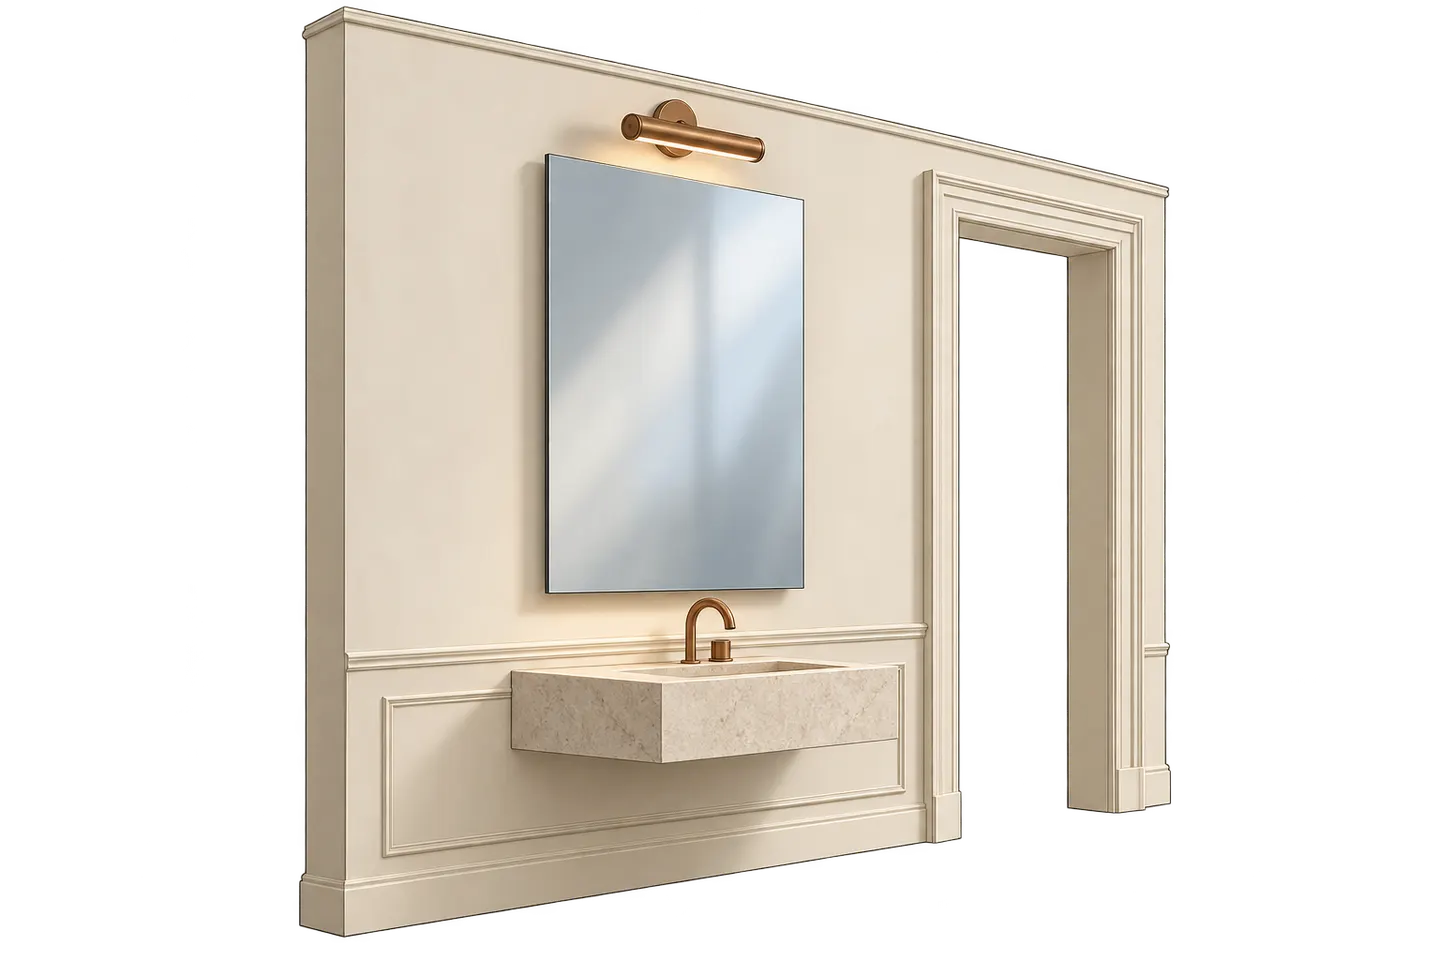
Look across the whole vanity wall, including the casing at the room entrance, any panel molding and the backsplash. A mirror sized only to the vanity can leave a narrow, accidental sliver beside a raised trim piece. Compare an intentional strip of wall with a mirror that reaches a different existing line. Neither choice needs the molding to become a cutting guide.
In the photograph, the mirror frame and the wall panels remain distinct. That is an observation about the visible arrangement, not evidence that the frame is original or that a particular gap was measured. For your room, send one straight-on wall photo and name each feature that should remain untouched. A plain annotation saying “keep this casing” is more useful than a crop showing only the old mirror.
A painted panel is a finish, not a mounting specification
A smooth-looking wall can conceal several different conditions. Raised molding, an existing frame and a painted panel do not establish a flat supporting surface or identify what is behind it. Ask the estimator to distinguish the mirror boundary you want from the mounting conditions that need a site review. Include any visible looseness, staining or previous repair in the brief without pulling trim or glass away yourself.
CRL’s Heavy Bodied Mirror Mastic data sheet illustrates why the selected system matters: that product excludes application to painted surfaces and wall coverings, calls for substrate preparation and requires mechanical support. Those are product-specific instructions, not a recommendation to strip your wall or use that adhesive. If the aim is to retain a finish, ask how the proposed mounting approach will address it and what preparation or repair would be a separate scope.
Choose the reflection from the place you use the mirror
The window and tub reflected in the photograph give the mirror another job: it brings the opposite side of the room into view. Before stretching a new mirror toward the ceiling or side wall, stand at the basin and then at the doorway. What comes into view at each position? A wider reflection may pick up a doorway, open storage or a light you would rather leave outside the composition.
Photograph the wall with the existing lights on. Show projecting sconces, outlets and the faucet as physical objects as well as reflections. If a fixture must move to achieve the preferred mirror line, name that as work for the appropriate trade. Keeping the sconces and trim in place is a useful constraint to design around, rather than an assumption hidden inside a glass-only quote.
- A straight-on view including the full trim and backsplash.
- The reflection from the basin and from the room entrance.
- A note of the lights, frame, molding and wall finishes to retain.
Ask for a proposal with a clear repair boundary
Separate removal of an existing mirror from removal of its frame, and separate both from patching or repainting the wall. If the condition behind the old mirror cannot be assessed until removal, ask how that uncertainty will be handled before a replacement is ordered. An early photo estimate should make the next inspection clear; it should not treat concealed conditions as known.
For a designated property, check the actual alteration scope with the responsible professional or LPC when needed. LPC identifies circumstances in which interior work needs its review, including work requiring a DOB permit, work affecting the exterior and designated interior landmarks. A Bedford-Stuyvesant address or old-looking trim alone does not decide that. Bring the retention plan, available property information and glass scope into the same conversation.
Bring the actual room into the estimate.
For this project, useful photos show:
- Full vanity wall with casing, molding and backsplash
- Mirror reflection and light fixtures from normal viewing positions
- Existing frame and visible wall conditions, with retained finishes identified
Tell us what you need.
Just the basics. Measurements and building details can come later.